How to apply a chrome finish to a 3D print
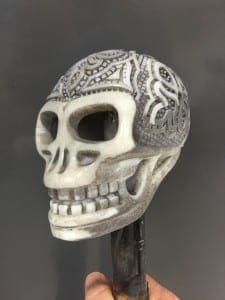
If you are looking for how to apply a chrome finish to a 3D print your answer is here. Cosmichrome is ideal for applying simulated gold, chrome, copper and nickel finishes to 3D prints. The finish is applied in a paint booth. Most 3D model shops already have paint facilities so Cosmichrome is a logical addition to 3D part production. In this example the skulls are SLAs. I believe they were made in an Objet brand printer but I am not certain. They had a waxy residue from the setup material that I cleaned off with a toothbrush and alcohol. I mounted the prints to dowels using hot glue. Then I applied an Epoxy primer because I wasn’t certain how well I had removed the residue. Unfortunately the primer never hardened so I removed it with lacquer thinner and got fresh epoxy primer from the local paint store. I then let the primed part and let it dry over night at room temperature.
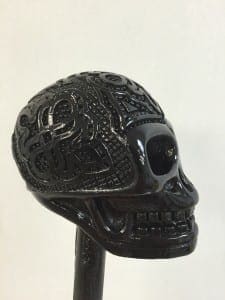
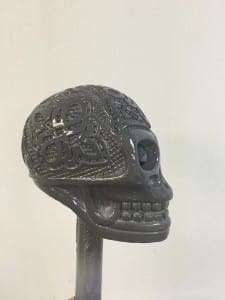
Then I applied Cosmichrome base coat. I applied three layers to be sure I got good coverage down in the low spots in all the detail on the model. I let the base coat dry over night at room temperature. The base coat can also be baked to speed up the drying process but on delicate 3D prints heat can distort the shape of the part so room temperature drying is the safest choice. After the base coat was completely dried I flame (plasma) treated the base coat then proceeded to the plating process you can watch in the video below.
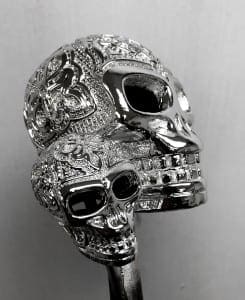
I let the part air dry in front of a fan for about twenty minutes and then applied the top coat. Here is the final result.


